Inside a marine products terminal
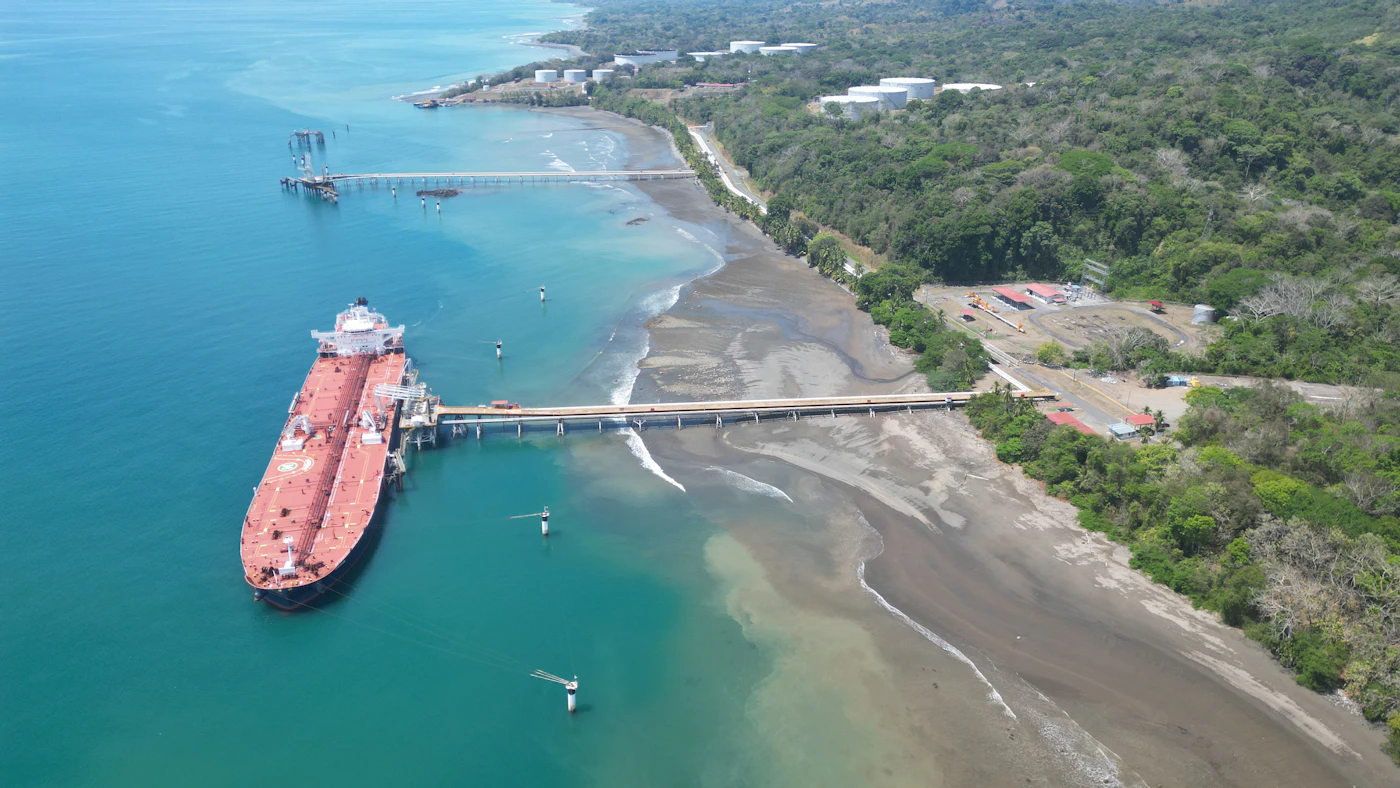
A terminal is where a ship's cargo becomes shore stock, and where many quantity and quality disputes begin. Use the drawing below to follow product through one.
Drawing 1: choose an operation to trace its route
Scroll sideways to see the whole drawing.
Receiving a cargo
- The vessel's pumps push product through the loading arms at the manifold.
- Product travels along the trestle to the shore manifold at a rate agreed in the transfer plan.
- Valves direct it onto the header and into T-102, after both sides confirm the line-up.
- Operators watch the rising level and compare hourly quantities from ship and shore.
Loading a vessel
- Shore pumps draw product from T-103 and send it down the header to the jetty.
- The vessel starts loading slowly so that the first foot in each tank can be sampled.
- Vapor pushed out of the cargo tanks is returned ashore where a vapor control system is required.
- The rate slows for topping off, and each tank is gauged when loading finishes.
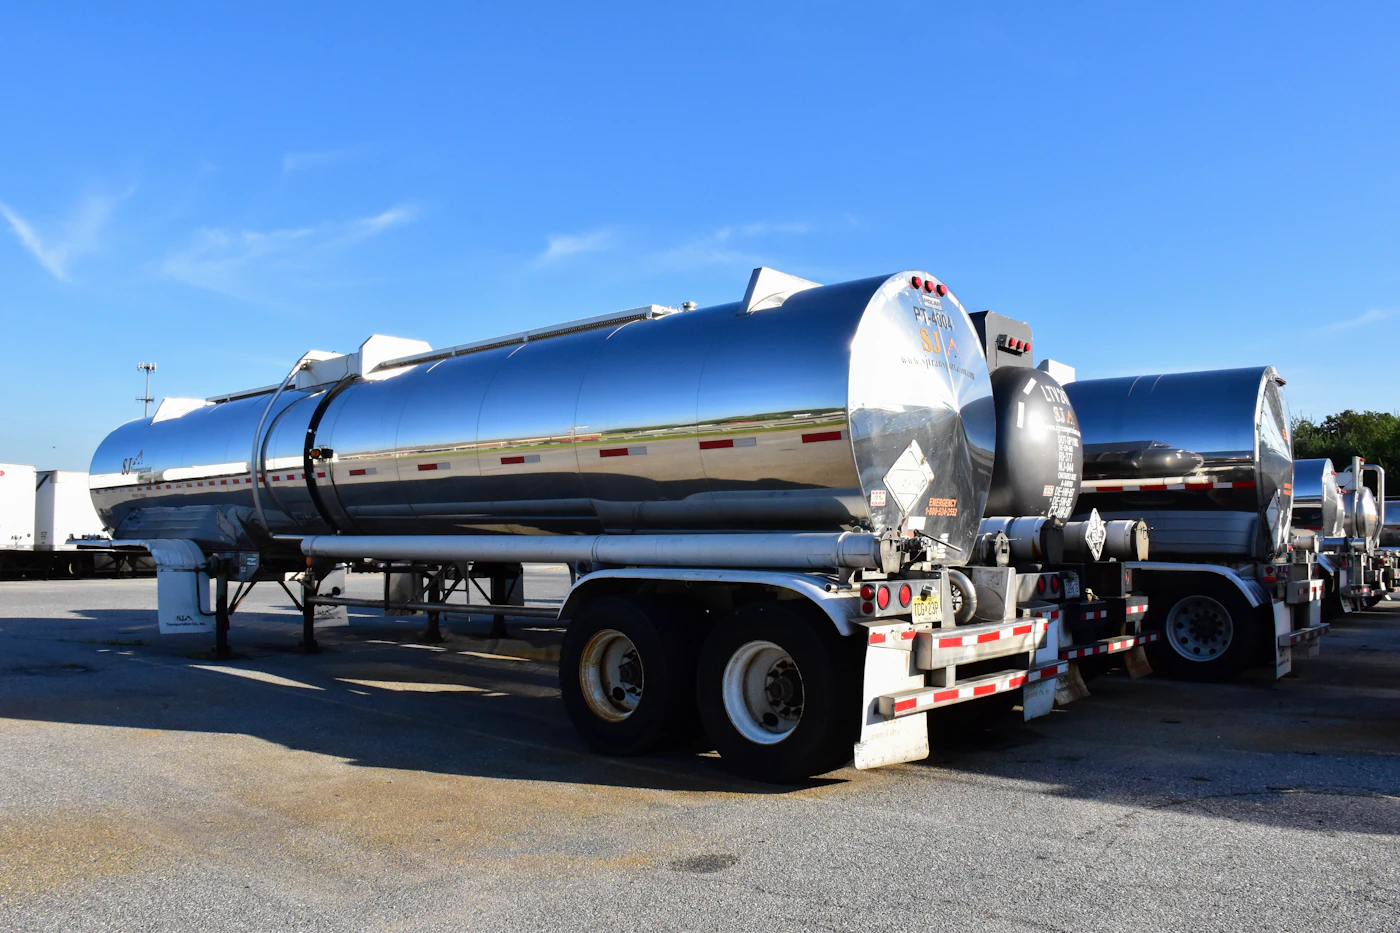
Loading road tankers
- A driver is authorized at the gate and assigned a bay at the rack.
- Pumps draw from T-202 and send product through a meter at the loading bay.
- Overfill and grounding protection on the truck must be connected before product will flow.
- The meter ticket becomes the delivery record, and vapors go to the recovery unit.
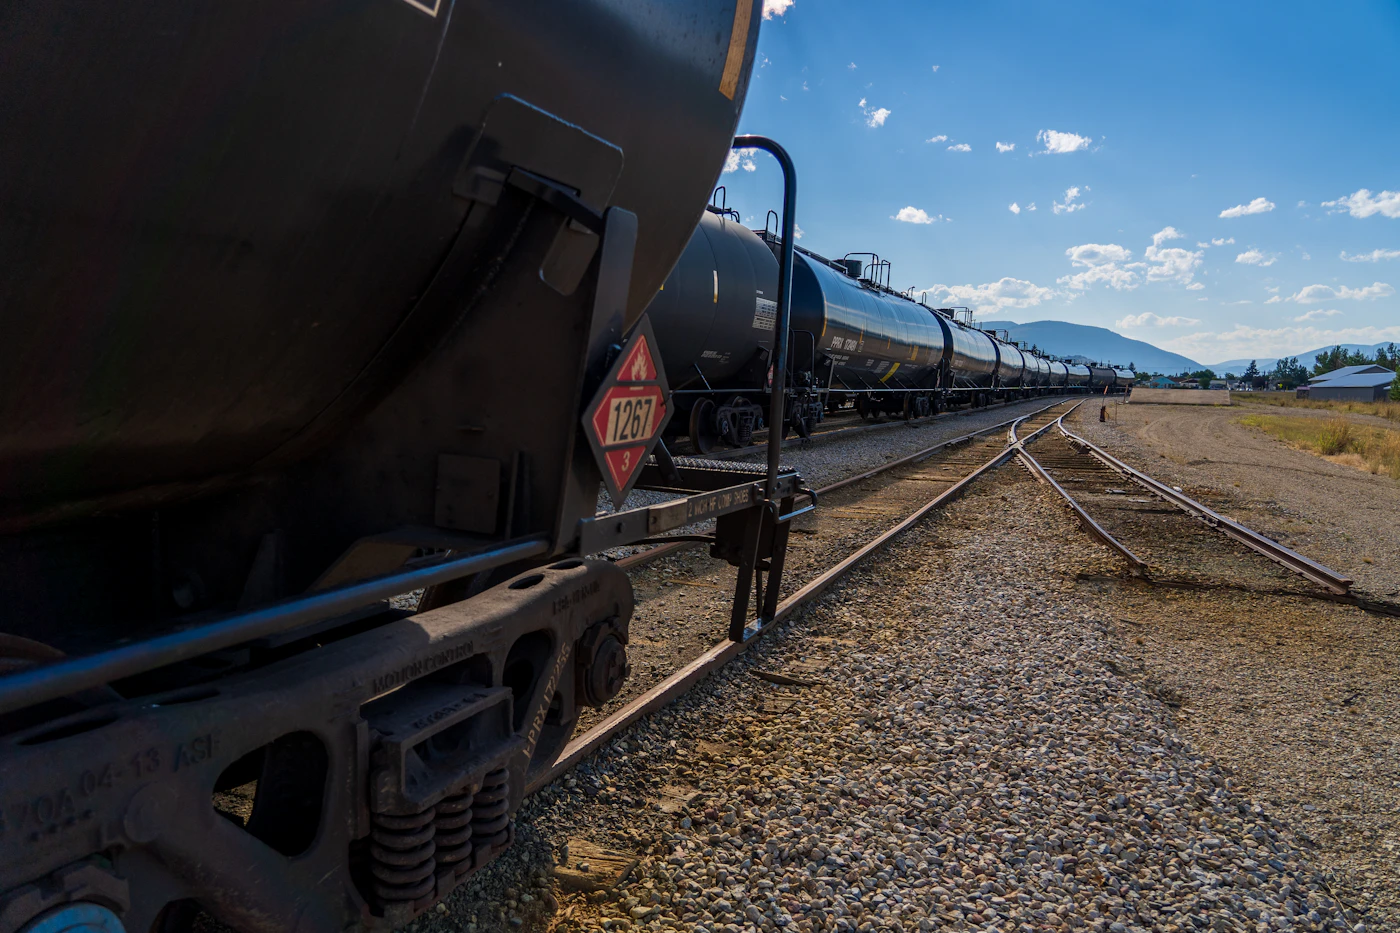
Loading rail cars
- Cars are spotted at the siding and chocked, with blue-flag protection in place.
- Product from T-203 runs along the header to the rail loading arms.
- Each car is loaded in turn to its allowable fill, with space left for thermal expansion.
- Seals and shipping papers are applied before the railroad takes over.
Transferring between tanks
- A transfer moves product to free up a tank, combine parcels or begin a blend.
- Gauges are read on both tanks before the valves open, using the same procedure.
- Product moves from T-101 to T-203 across the header between the compounds.
- The quantities that left and arrived are compared, and any gap is investigated.
Key to the drawing
Select an item to find it on the drawing.
Lies alongside with its cargo manifold lined up to the shore arms. Mooring lines are tended throughout, because the vessel rises and falls with the tide and the load.
Articulated steel arms follow the vessel's movement. Many have emergency release couplings that part cleanly if the ship moves too far.
Carries the cargo lines, fire main and walkway across the shallows. Its length is usually set by how far out the water is deep enough.
This is where the route is chosen. A wrong valve here is how grades get mixed, so line-ups are checked independently before each transfer.
A bund is an earth or concrete wall around the tanks. It is sized to hold the contents of the largest tank, and its drain valve normally stays shut.
Radar or servo gauges report level and temperature. A separate high-level switch gives an independent warning if the main gauge fails.
Metered loading bays with grounding interlocks. Most run bottom loading, which limits splashing, static and vapor release.
Moves larger inland volumes than road. The track is laid out to allow several cars to load at once and to keep switching away from the loading point.
Collects vapors displaced as tanks and trucks fill, then recovers or destroys them. The dotted lines on the drawing show the vapor headers.
Operators run transfers and watch alarms from here. The lab, on site or contracted, tests samples against the product specification.
A dedicated water tank and pumps feed monitors and foam systems. Spent firefighting water also has to be contained so it does not leave the site.
Rain and drain water from the compounds passes through here. Oil is held back, and the water is tested before it is discharged under permit.
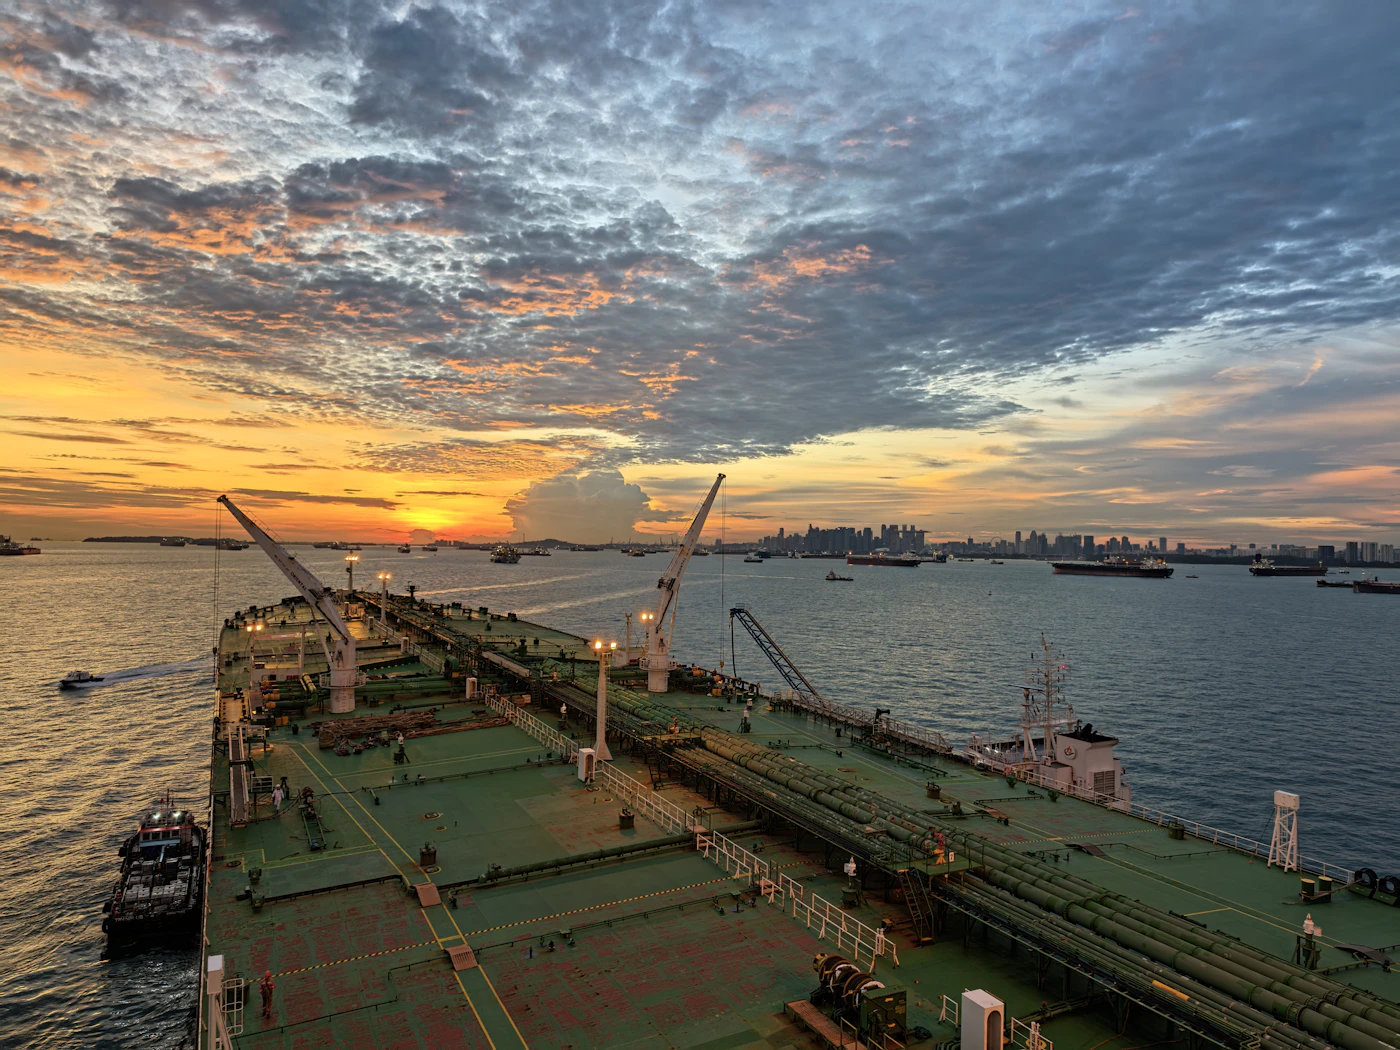
A discharge, start to finish
Each step here is written down by someone, because any of them could later decide who pays for a delay or a shortage. Timings vary by port and contract.
- 72 h before
ETA notices
The master sends arrival estimates at intervals set by the charterparty, commonly 72, 48 and 24 hours out. The terminal confirms the vessel's acceptance and berth prospects.
- Arrival
Notice of readiness
The master tenders NOR once the vessel has arrived and is ready to discharge. Under many charterparties, laytime starts six hours later or when the vessel is all fast, whichever comes first.
- Berthing
All fast
Pilots and tugs bring the vessel alongside. The time the last mooring line is secured goes into the statement of facts, along with almost every other event that follows.
- Before transfer
Safety meeting
Ship and shore complete the ship/shore safety checklist from ISGOTT and agree rates, signals and emergency stops. At US facilities, both sign a Declaration of Inspection.
- Before transfer
Independent inspection
An inspector gauges each cargo tank for ullage, temperature and free water, and also gauges the receiving shore tank. Manifold samples are drawn.
- Connection
Arms on, line-up checked
Loading arms are connected and tested. Someone other than the person who set the valves checks the route, from vessel to shore tank.
- First hour
Slow start
Discharge starts at a low rate while the shore team confirms that product is reaching the right tank. A first-foot sample may be tested before the rate is raised.
- Bulk discharge
Hourly figures
Rates and pressures are logged, and ship and shore quantities are compared. A growing gap is a reason to stop and investigate while the parcel can still be traced.
- Final hours
Stripping
The vessel trims by the stern and strips its tanks and lines. Remaining cargo on board is measured afterward, because it affects who bears the shortfall.
- Completion
Final gauging
Ship tanks are gauged again, and the shore tank is left to settle before its reading is taken. Composite samples are tested against the specification.
- Departure
Documents
Hoses or arms come off, the statement of facts is signed, and any disagreement is recorded in a letter of protest. The vessel can then sail.
- After sailing
Outturn and demurrage
The outturn figures settle the quantity. If laytime was exceeded, a demurrage claim follows, usually within a time limit set by the contract.
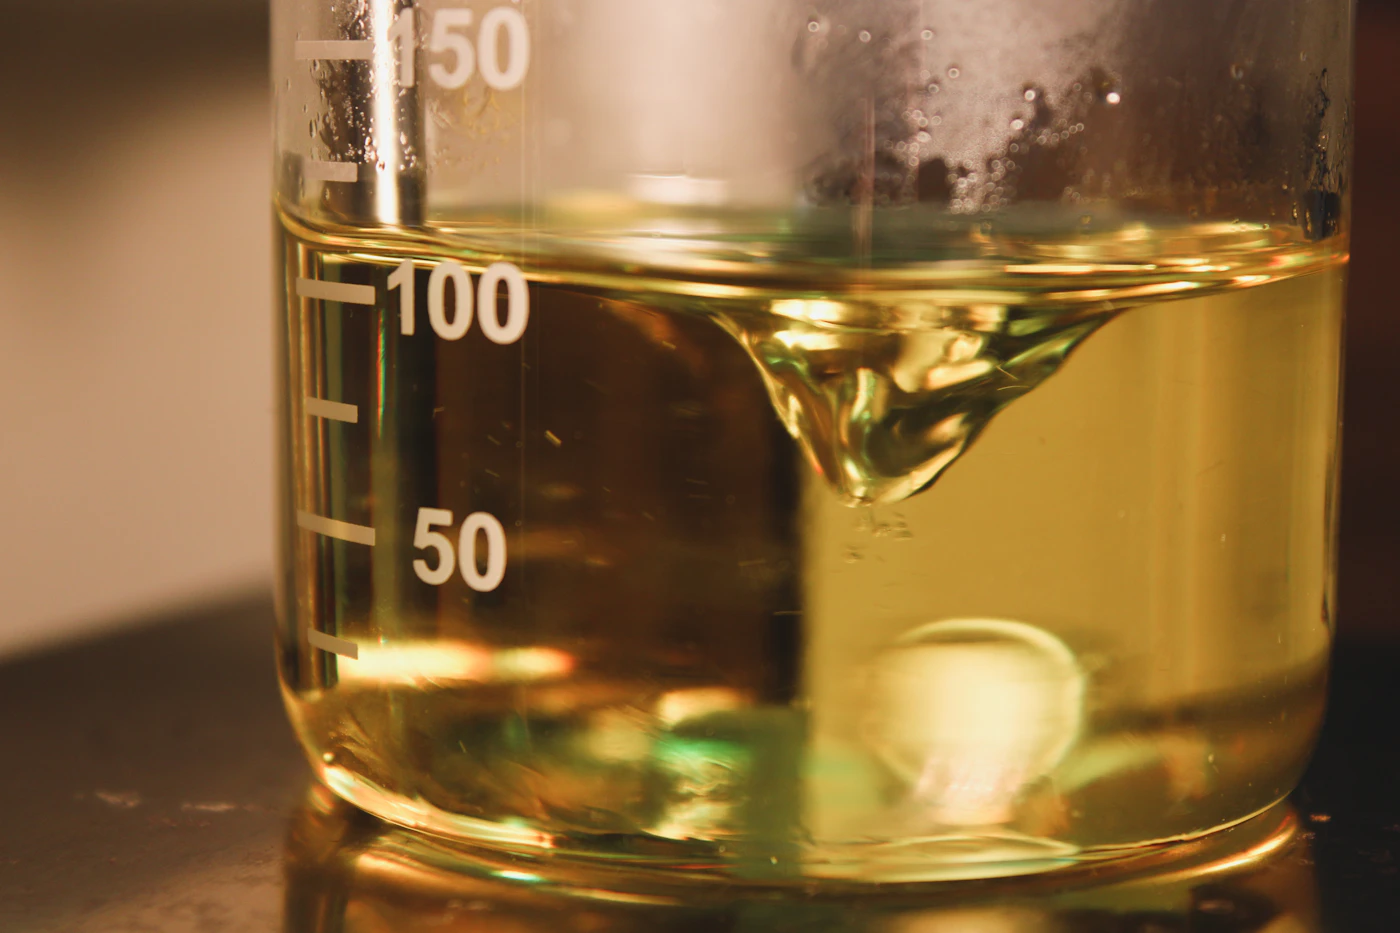
Why a barrel is not always a barrel
Five inches of ullage on a large tank can be worth more than a truck of fuel, which is why independent inspectors are paid to measure it.
A tank gauge reads volume at the product's actual temperature. Petroleum expands as it warms, so a hot cargo reads high. To compare figures fairly, volume is corrected to a standard temperature using industry tables, and then non-product content is deducted. Each step has its own name, and contracts specify which one the price is based on.
- TOV: Total Observed Volume
All liquid in the tank, at its observed temperature, including free water and sediment.
- GOV: Gross Observed Volume
TOV with free water removed, still at observed temperature.
- GSV: Gross Standard Volume
GOV corrected to 60°F or 15°C using a volume correction factor from the ASTM D1250 / API MPMS tables.
- NSV: Net Standard Volume
GSV with suspended sediment and water deducted. This usually matters most for crude and heavy fuels.
Bar lengths are exaggerated to show the sequence. For most clean products, the real differences are much smaller.
Quantity converter
Convert between barrels, cubic meters, US gallons and metric tons. The product's density links volume to weight, so the same barrels weigh more as diesel than as gasoline.
- Barrels
- -
- Cubic meters
- -
- US gallons
- -
- Metric tons (in air)
- -
- Density, kg/L
- -
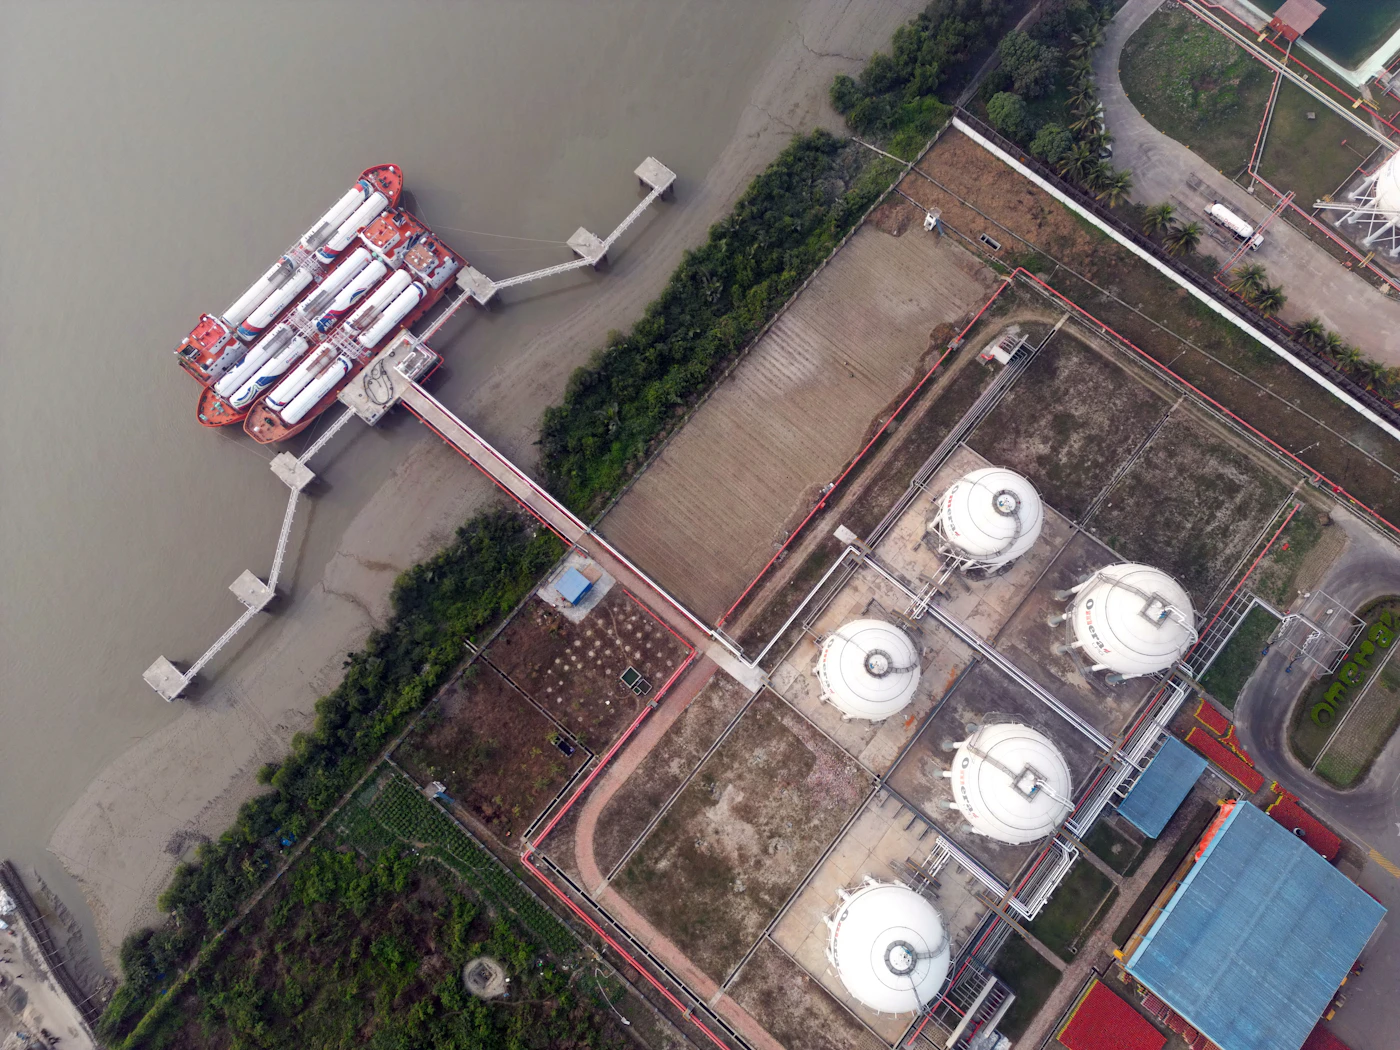
How to assess a terminal
Before committing to a facility, it is worth finding out:
- Vessel limits. Maximum length, beam and draft at the berth, tidal restrictions and any night-transit rules.
- Rates. The discharge rate the shore line can actually accept, rather than the vessel's maximum.
- Line segregation. Whether your product gets dedicated lines, or lines shared with other grades.
- Tank history. Last contents, cleaning method, and the date of the last out-of-service inspection.
- Measurement. Gauge type, calibration dates and the terminal's gain and loss record.
- Inland connections. Truck, rail, barge and pipeline capacity, including how many hours each can run.
- Environmental permits. Current air and water permits, and whether your product is listed on them.
- Emergency response. The facility's response plan, its contractor and the date of the last drill.
- Commercial terms. Throughput fees, excess charges, losses allowed and who is liable for contamination.
Planning a terminal call? Contact the Stamford office.